
Hugin tutorial — Stitching two photos together
The entire process described here, of taking two handheld photographs and sticking them together into a single image, can be performed completely automatically by just clicking Align in the Hugin Assistant tab. This tutorial looks 'under the hood' of Hugin and introduces some of the concepts and functions that are needed for more advanced use.
Note: This tutorial is based on the 0.7.0 version of Hugin. Although your version may differ, the underlying principle will remain the same.
You can download the two photos used in this example (974-1.jpg, 975-1.jpg) and try it yourself.
Start by launching Hugin, and using the Images tab select Add individual images... button to select the two images you want to stitch.
Tip: you can select multiple images in the file dialog box or drag and drop files from a suitable file browser.

Select image #0 then click on Anchor this image for position and Anchor this image for exposure. You might want to try this tutorial again later selecting image #1 to see what difference these choices make.
If you select or drag in image files which don't have complete EXIF data, the Camera and Lens data dialog box will open asking for camera and lens data. For a normal pocket camera it is usually safe to enter 50 deg for the HFOV (Horizontal Field of View).
Switch to the Control points tab, this is where you are going to input all the information the software needs to align the two images.

Click on the title bar above each image to select image 0 on the left hand side and image 1 on the right hand side.
Make sure that Zoom is set to fit to window and that both Auto fine tune and Auto add are set.
Now you can use the mouse to select control points; pick well defined features that you can see in both the left and right-hand window.
Hugin aligns images using these control points, each is actually a pair of locations, one for each of the two images being connected.
When you first select a point a high magnification window will open to help you with selection. If you hold down your left mouse button you can roam around until you have the cross hairs just where you want them.
For the first control point you will then need to go to the other image and click the corresponding location, Hugin will then automatically fine-tune this position. For subsequent points, when you have finalised your selection on the first image Hugin will automatically find the point in the second image.
Repeat until you have about 5 or 6 pairs of control points.

Now select the Optimizer tab. Hugin uses an optimisation scheme where it adjusts image orientation and lens settings of source photos until the control-points line-up.
The plan here is to keep the first image fixed and adjust the position of the second image to fit. You can do this by selecting Optimize Positions (incremental, starting from anchor).
However the lens parameters can be optimised at the same time; for now optimise HFOV (horizontal field of view) and correct barrel distortion by selecting Optimize Positions, View and Barrel (y,p,r,v,b).
Tip: Although you can optimise all hfov, a, b, c, d & e parameters, most of the time the hfov and b parameters are the only significant lens numbers you need to consider.

Click on the Optimize now! button and wait while the optimiser tries to find a good fit. When it is done you will need to Apply the changes.

Select the Exposure tab. Choose Low dynamic range and click Optimize now! You might want to try this again with a different optimisation setting to see the effect.

Before we generate the stiched panorama, select Preview panorama icon (or find it in the View menu).

In this window we need to set the projection to Rectilinear, this is equivalent to a normal wide angle camera.

The Straighten icon can be used to automatically centre, level and fit the field of view to the images. You can alternatively do this manually by adjusting the sliders at the edges and by clicking in the preview itself to re-centre the view.
Finally we are going to generate the output image. Select the Stitcher tab.

The projection should be Rectilinear, and having adjusted the field of view in the preview window these settings should not need to be altered. Select Blended panorama under Normal output, and under File formats - Normal output choose whatever suits you. Here we have chosen JPEG. Select Save project and stitch. Firstly, project files will be saved to your selected location (these can be opened again later in Hugin to revisit the process) and finally you will be asked for a filename prefix for the final panorama.

Adjusting the perspective of the final panorama is a subject for another tutorial.
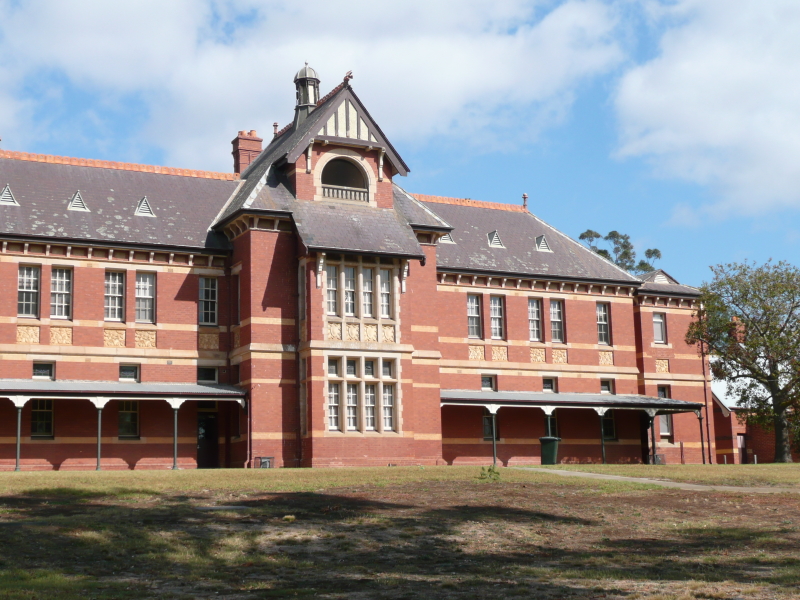
The old building is part of Victoria University, Sunbury, near Melbourne, Australia.
Original tutorial by Bruno Postle created October 2003, updated October 2006 - Updated for Hugin 0.7.0 by Terry Duell April 2008